How to Enable Pay-per-view Service for your Streaming Channel?
Pay-per-view (PPV) option on Livebox allows monetizing your live streams whereas, it also renders your viewers to avail of a purchase option to stay tuned with all your streaming events.
Complete setting up PPV service for your viewers by following the below steps.
- Go to ‘System Settings’ under ‘Settings’.
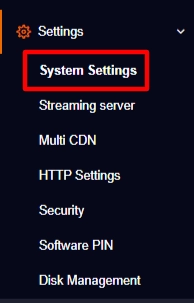
- Tap on Pay-per-view Settings.
- Select your payment method and enter your (payment gateway) secret ID and secret key.
- Followed by, enter the number of IP address allowed per viewer to access your live streams.
- Then click ‘Save’.

After completing this process,
- Go to ‘Channel Settings’.
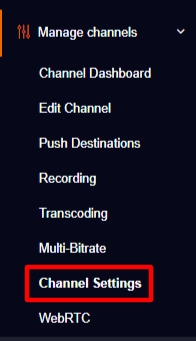
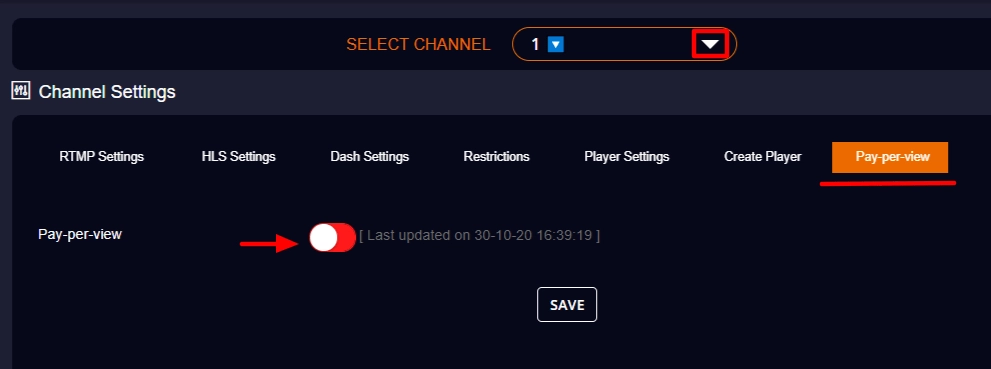
- Select the streaming channel to which you want to enable the pay-per-view service.
- Then go to the Pay-per-view option and enable it.
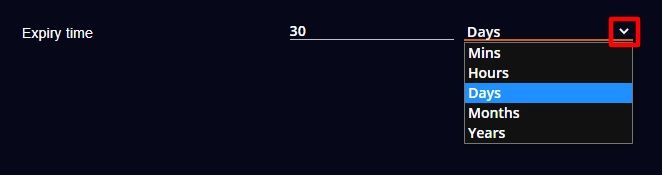
- Then fix the payment amount and the expiry followed by clicking the save button.
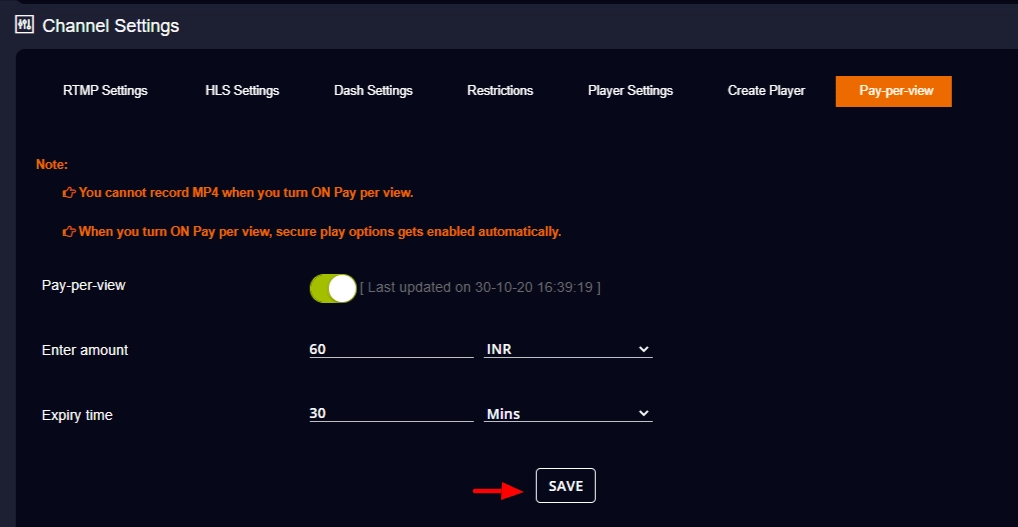
- While setting the expiry, you also have the option to set it for mins, hours, days, months and years by clicking the drop-down menu.
- To check whether you have enabled the pay-per-view service for your streaming channel successfully, go to the channel dashboard and preview the player.
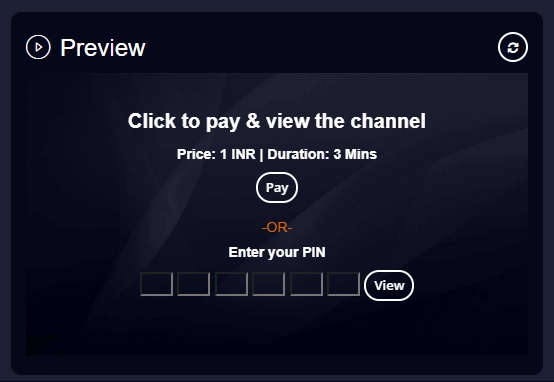
So from now on, while embedding the player on streaming destinations, viewers can pay to enjoy all your live streams.


Comments
Post a Comment